Making a not so ugly air choke for the MFJ G5RV
Love them or hate them, the G5RV antenna has been around for some time. My first introduction to the concept was when I saw a ZS6BKW antenna, and I thought I need to replace my club made 40m dipole for this! I was excited about having one dipole with multiband options in my small yard, as most of us have in town. I did my homework and found out that the MFJ G5RV was the most easily accessible multi band dipole that I could find locally, that would suit my needs.
I bought one and hastily put it in the air only to find my radio was not so keen to tune it. After some head scratching and connector checking I decided to read the small manual that came with the antenna. It said something like “....it is a good idea to use a 1:1 choke BALUN at the coax to feed point connection…..”. Ah ha that must be it, it went on to say “.....The air wound balun required for this antenna can be constructed by winding the coaxial feedline cable in a single layer solenoid coil with at least 10 turns of 4 to 6 inch diameter……”. Right, with that information in hand and an imperial to metric calculation I was on the hunt for a form around the house that would meet the requirements.
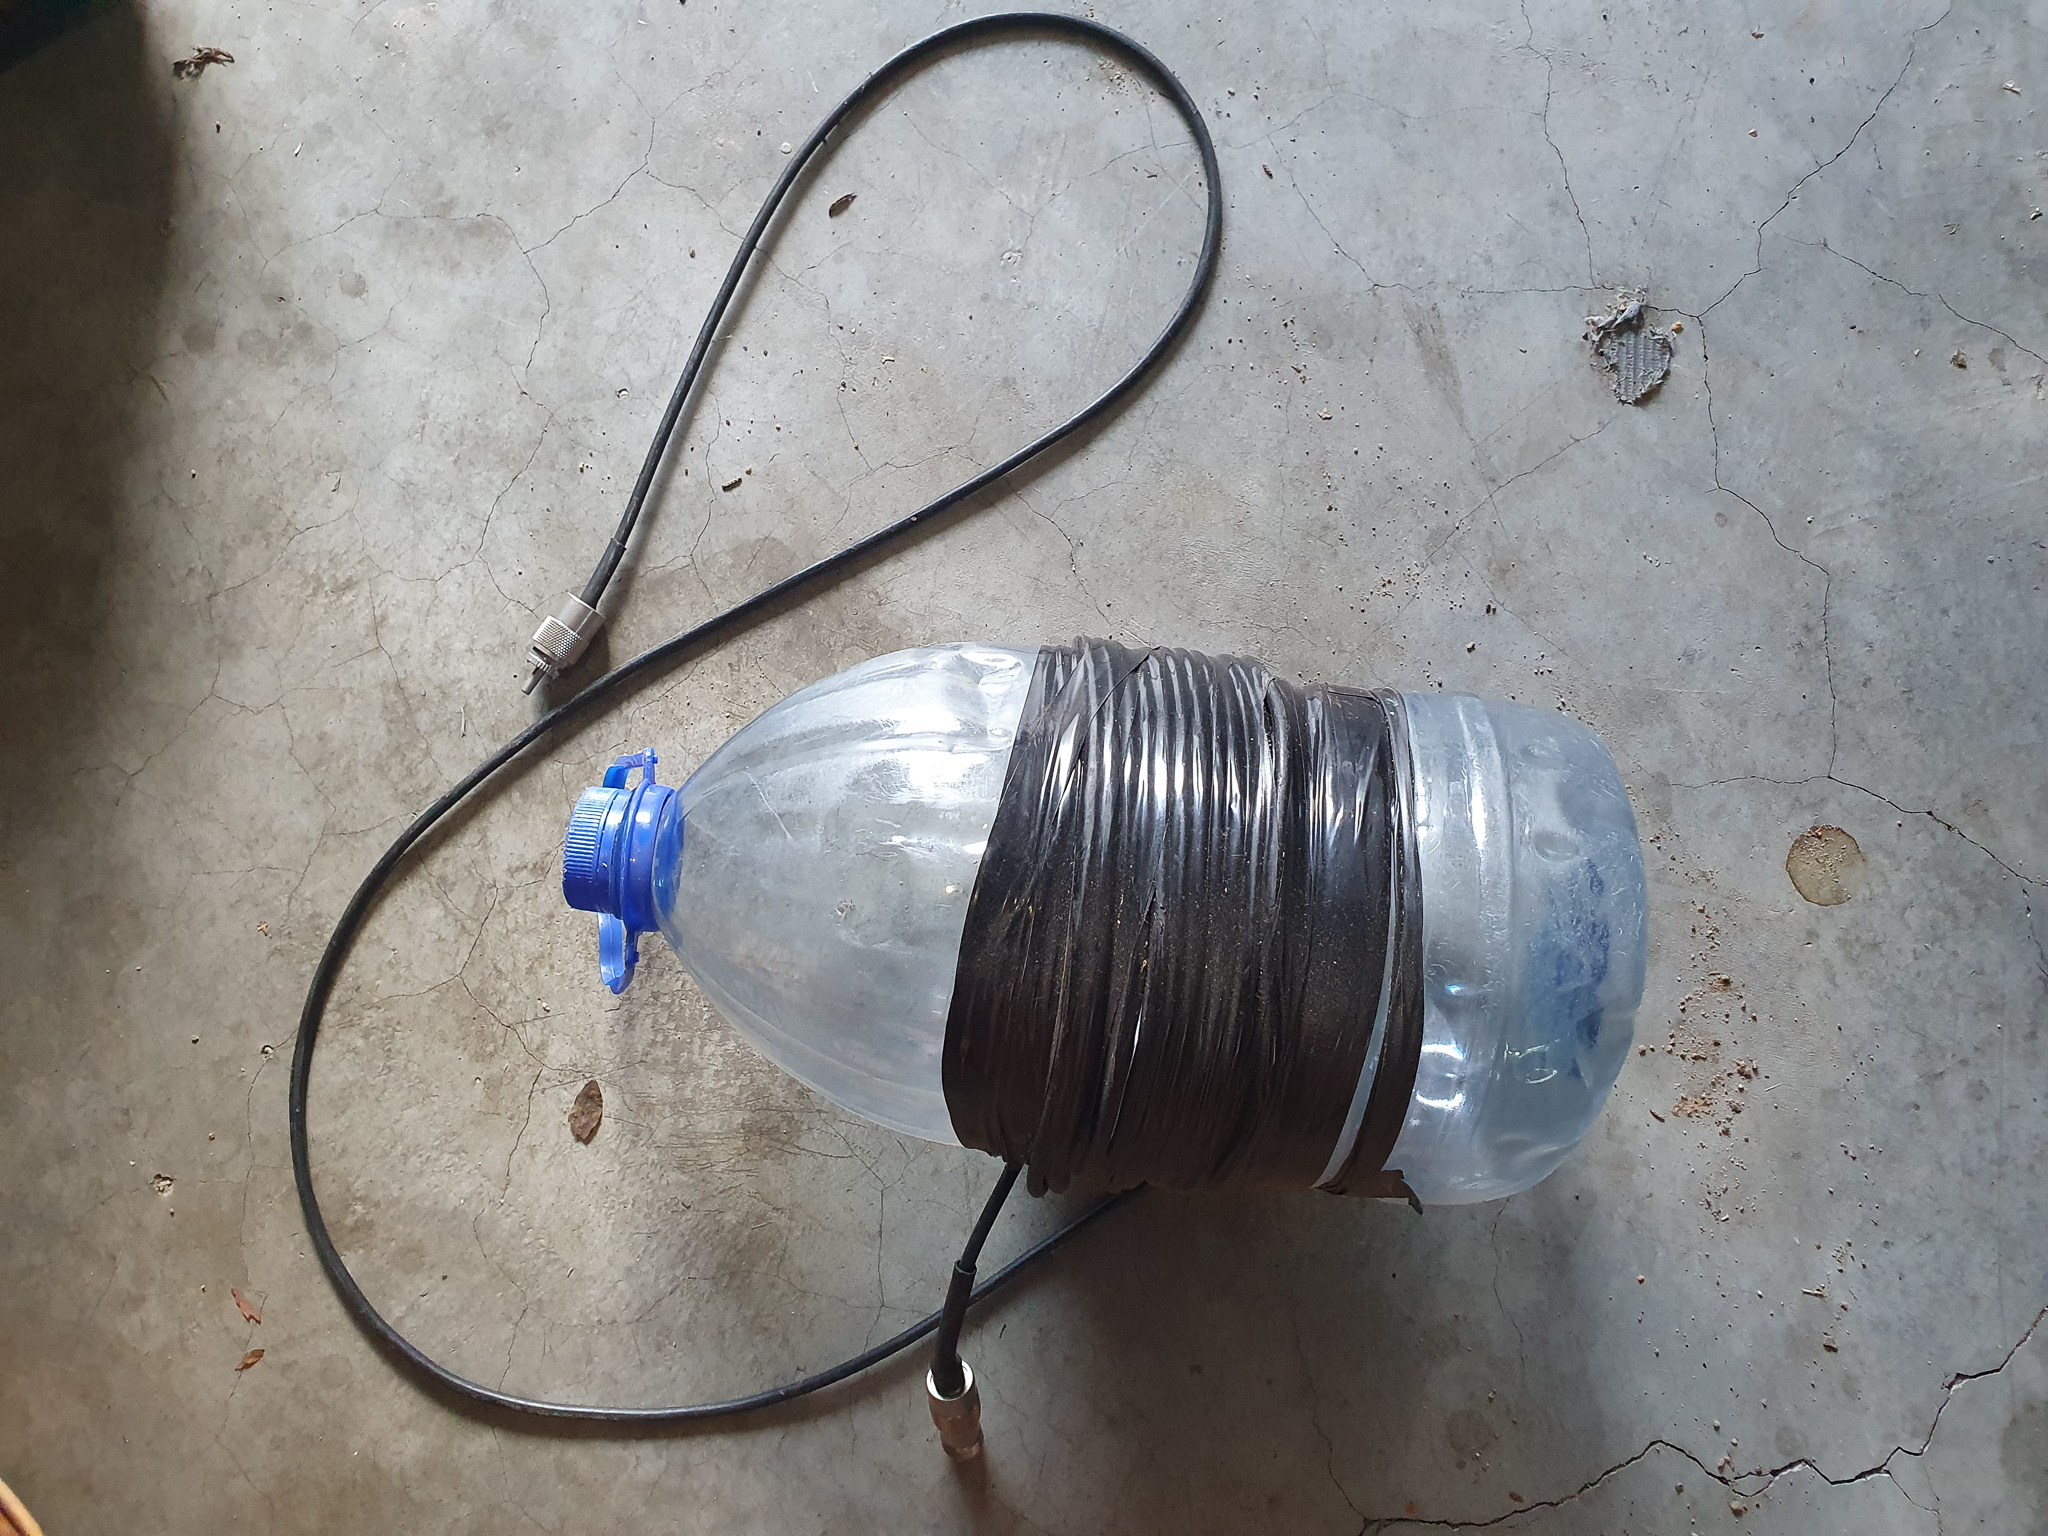
The best I could come up with is a disposable 5l water container in the corner of the garage. I promptly chopped it up, wound some coax around it and generously used some electrical tape to keep it all together. As far as ugly chokes/baluns are concerned this was right up there with the ugliest. No matter, I installed it and the tuner was only slightly more enthusiastic in finding a good match, but it was acceptable, so onwards I went. I used it like this for a fairly long period of time, however being out in the elements the tape peeled, the windings came loose and it became ineffective again. I made a few more of these over the years only slightly improving my “ugly” design adding more electrical tape each time.
Fast forward to February 2021, I am sitting at my desk looking out the window at my failing to work but living up to the ugliness of the ugly choke. Right, enough is enough, I have been working on my 3D design skills and I have been putting my newly acquired 3D printer to work. I thought what if I design a 3D model of a choke that would work better, the scope was to remove some ugly and add some reliability to the mix, what a novel idea.
I pulled out the vernier and the manual one more time to read the specs of the air choke. I rummaged through my box of connectors, measured things out on a scrap piece of paper and then I had a rough design with measurements in place. I logged into my favorite CAD site and I got designing, it really does help seeing your design take shape right in front of you on the screen.
Rotating the object round and round on my screen looking at it from different angles, adding and taking away from the model, until I was satisfied. I exported the file as an STL (3D object) and imported it into my slicer program (this is the software that looks at your 3D model knows the specifications of your printer plus your settings and creates some instructions that your printer understands AKA gcode).
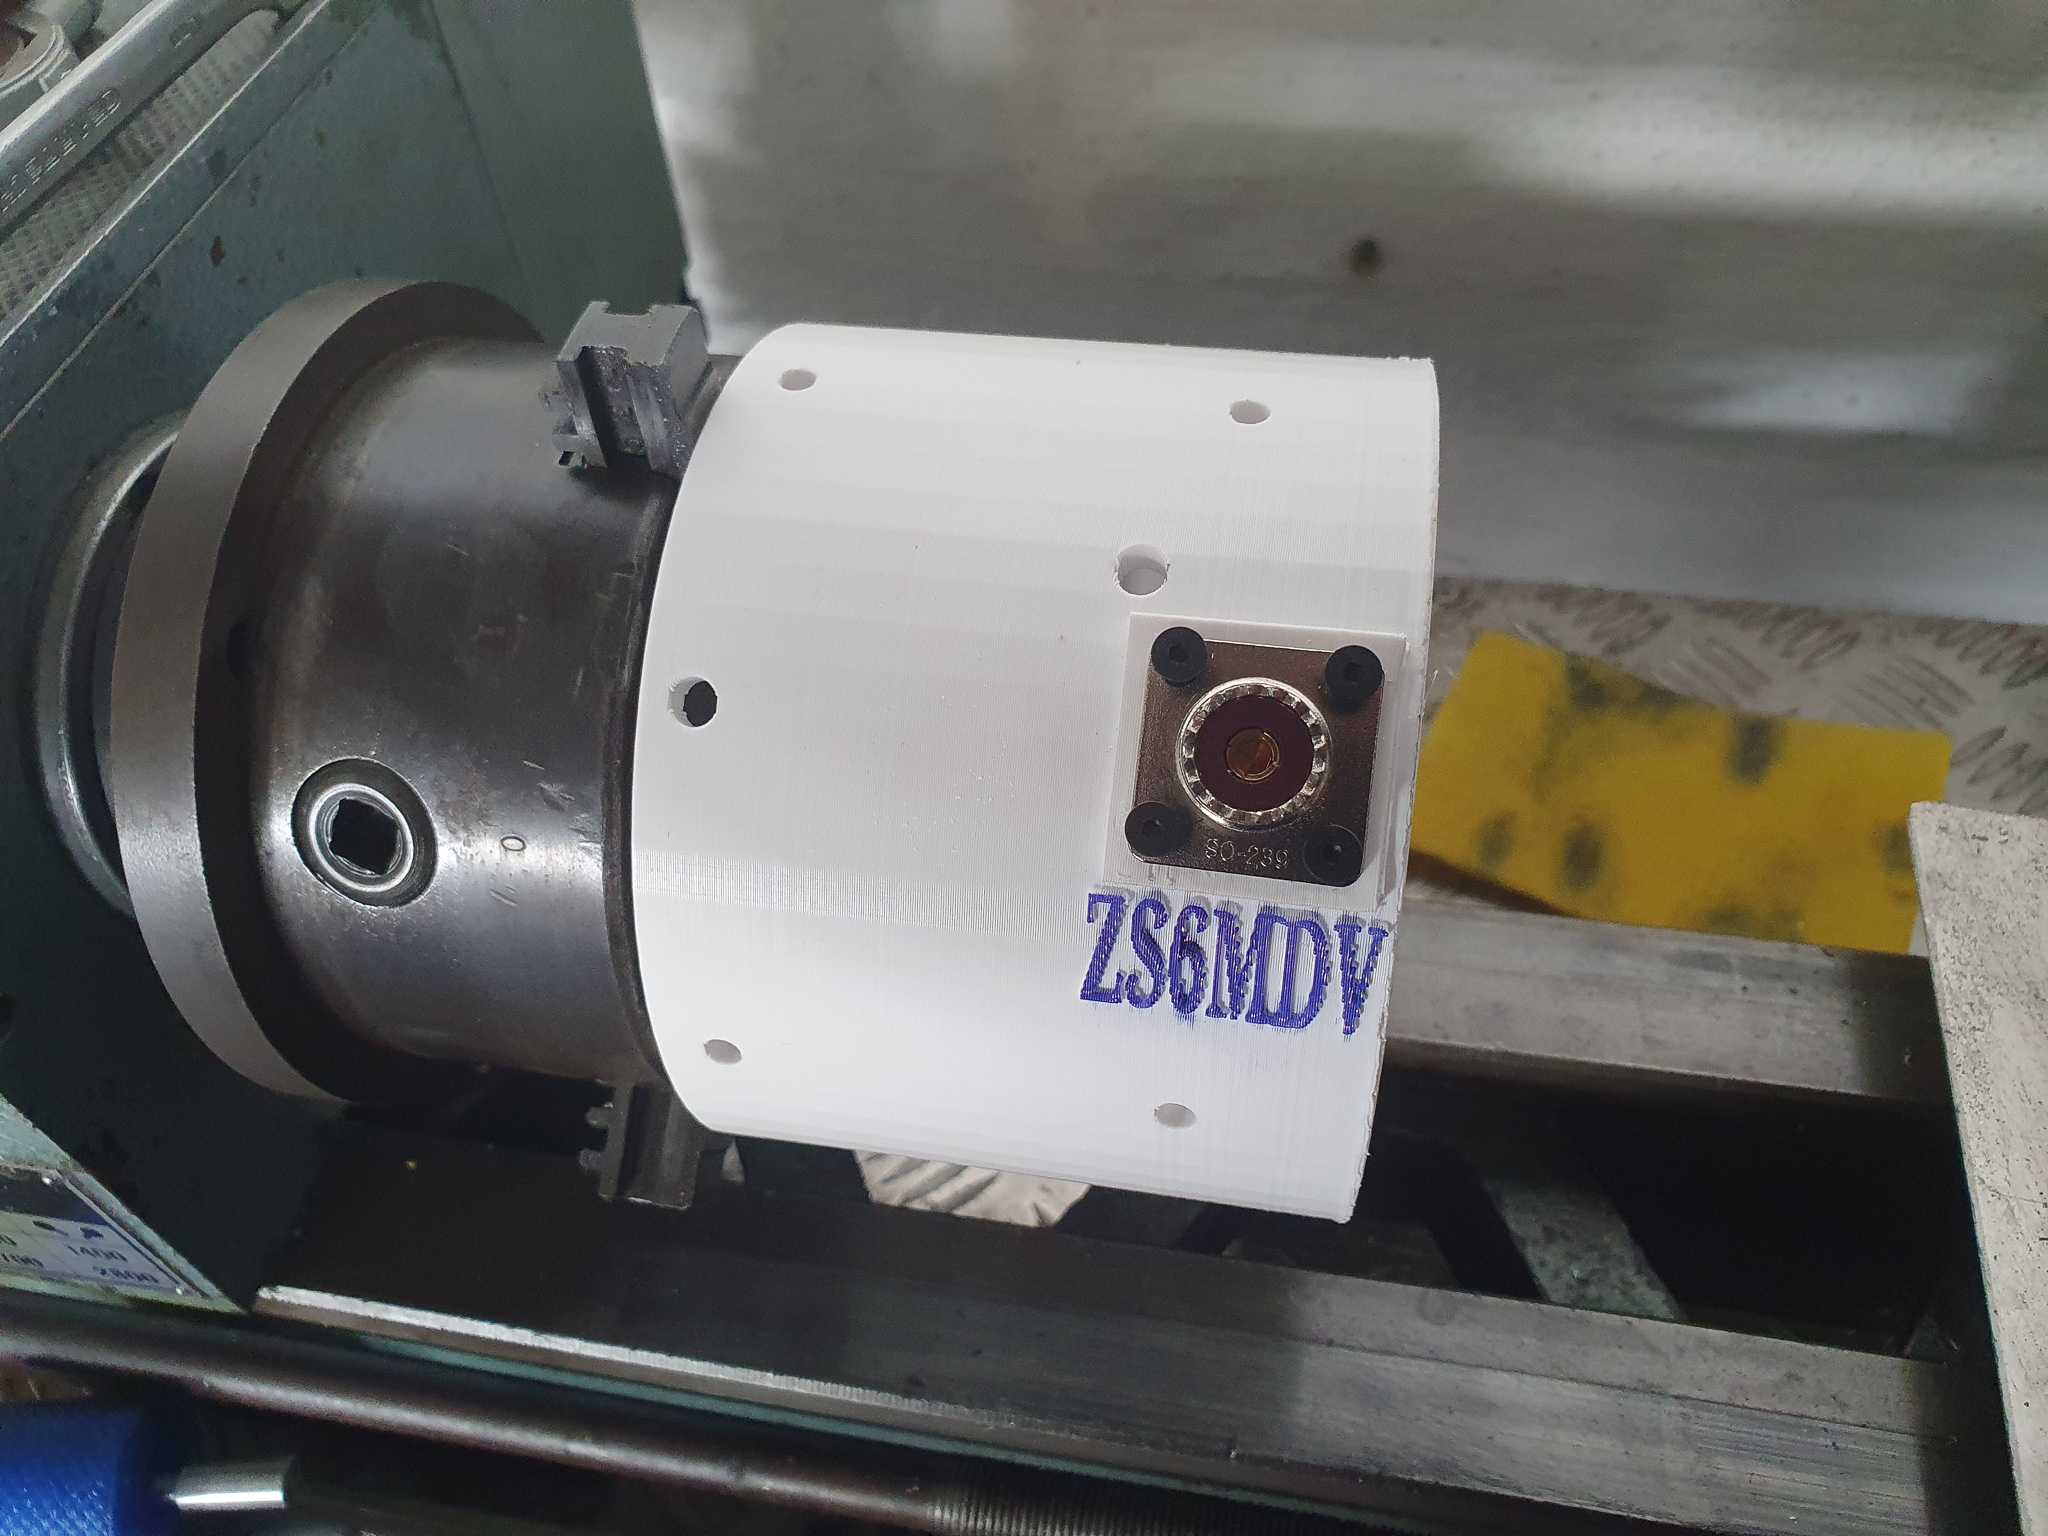
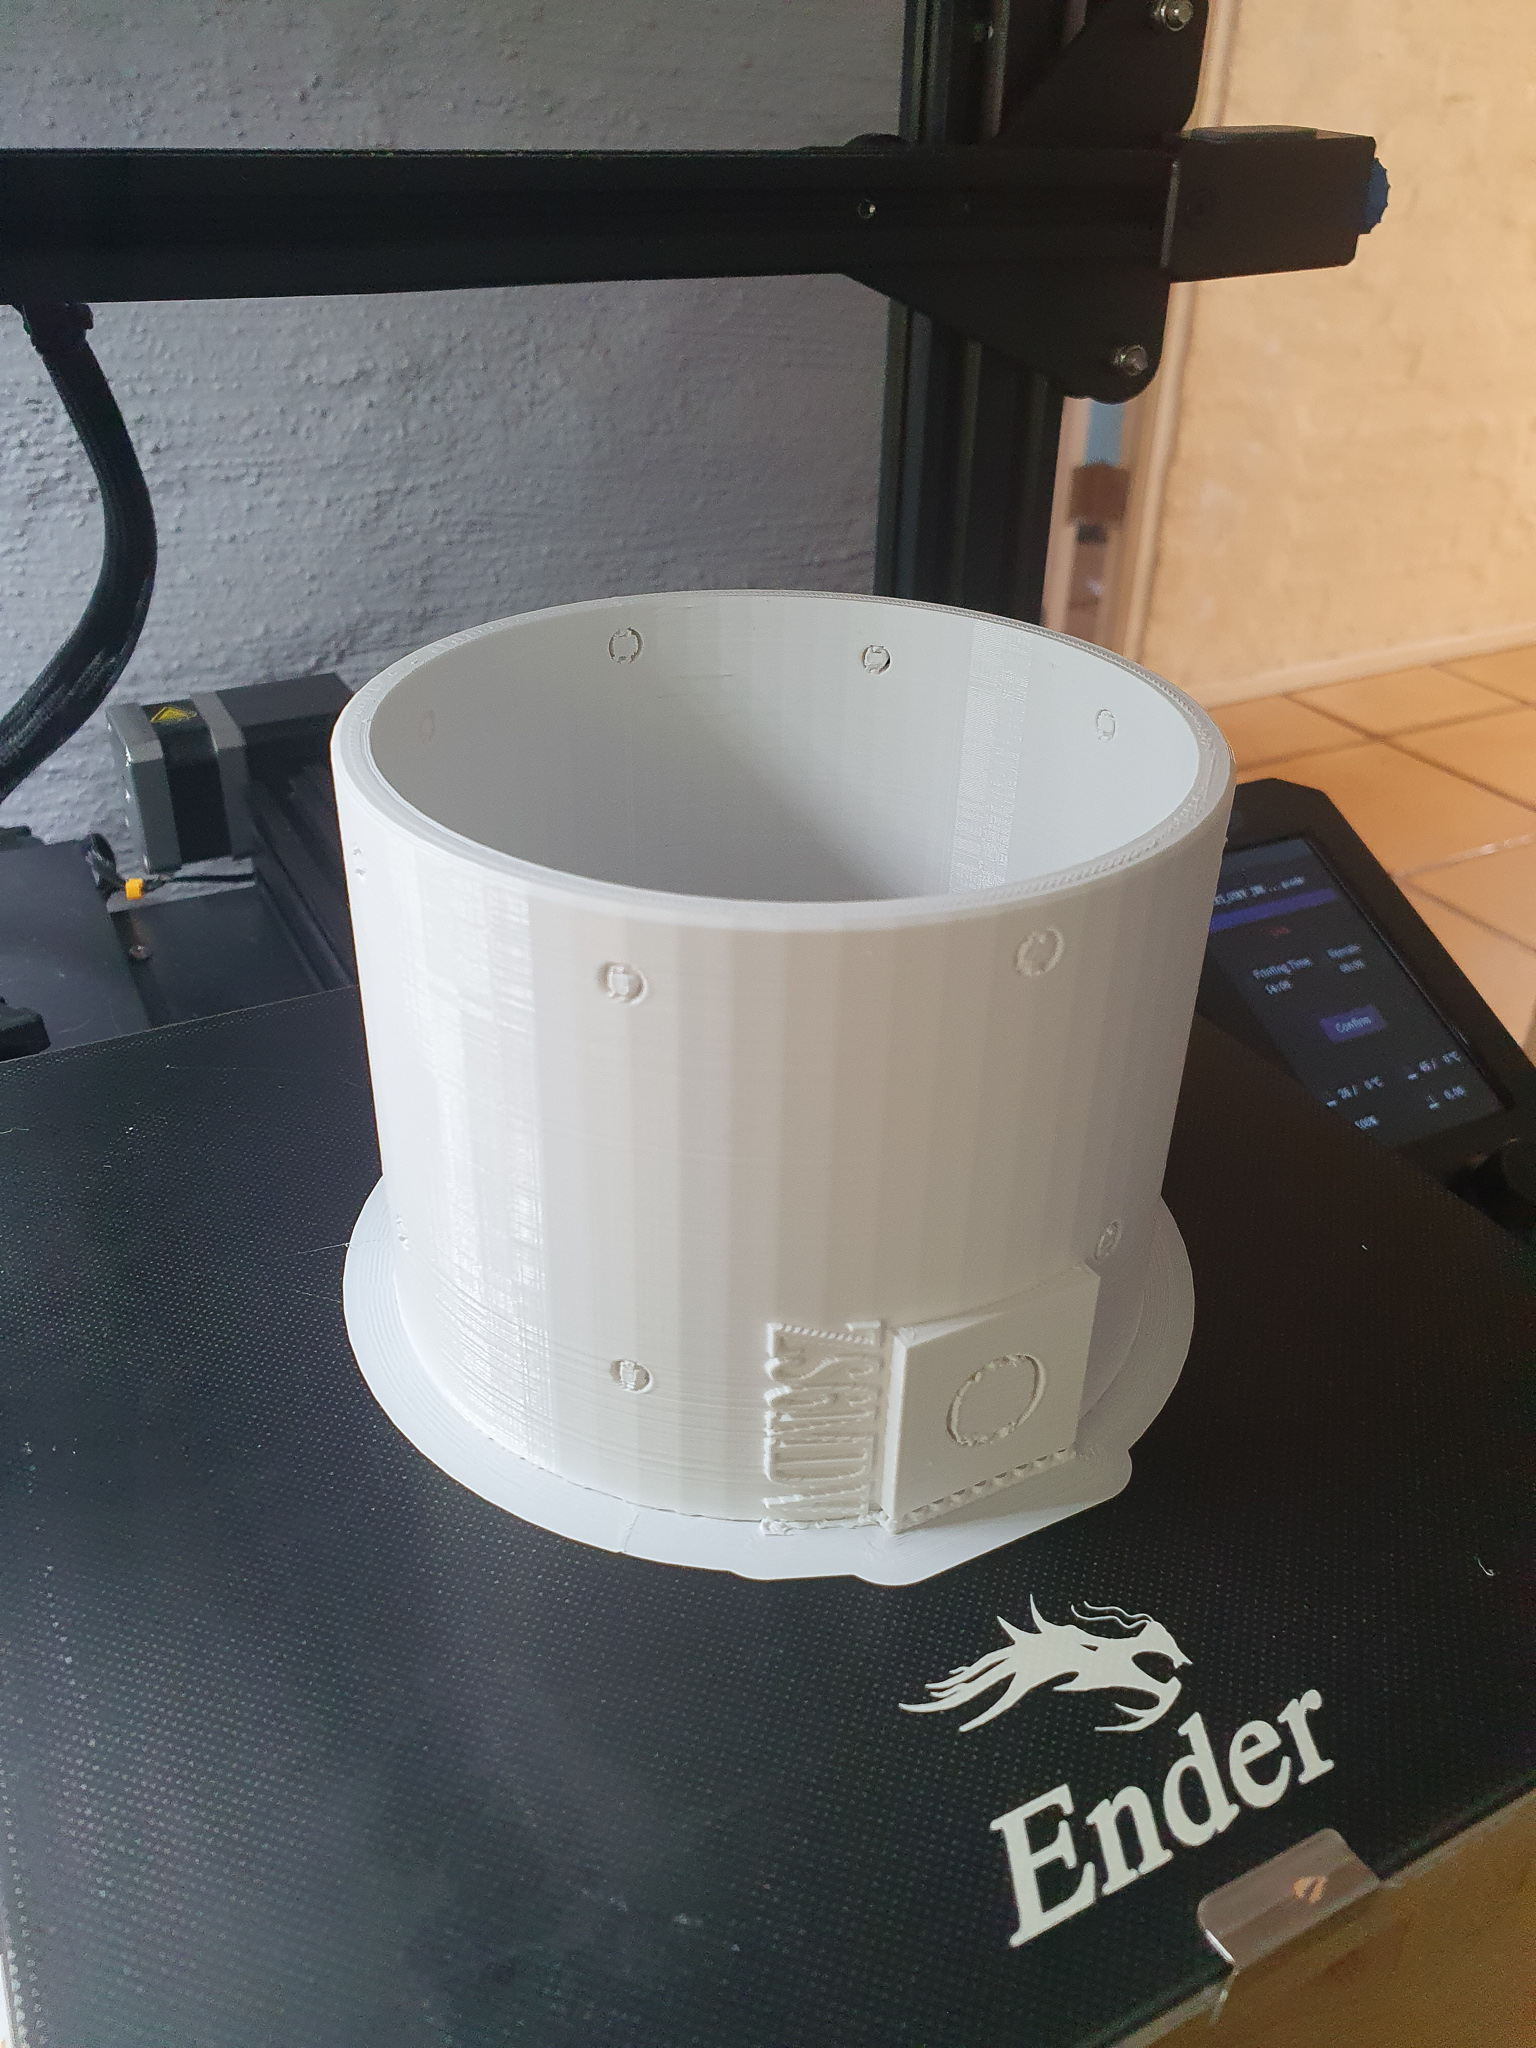
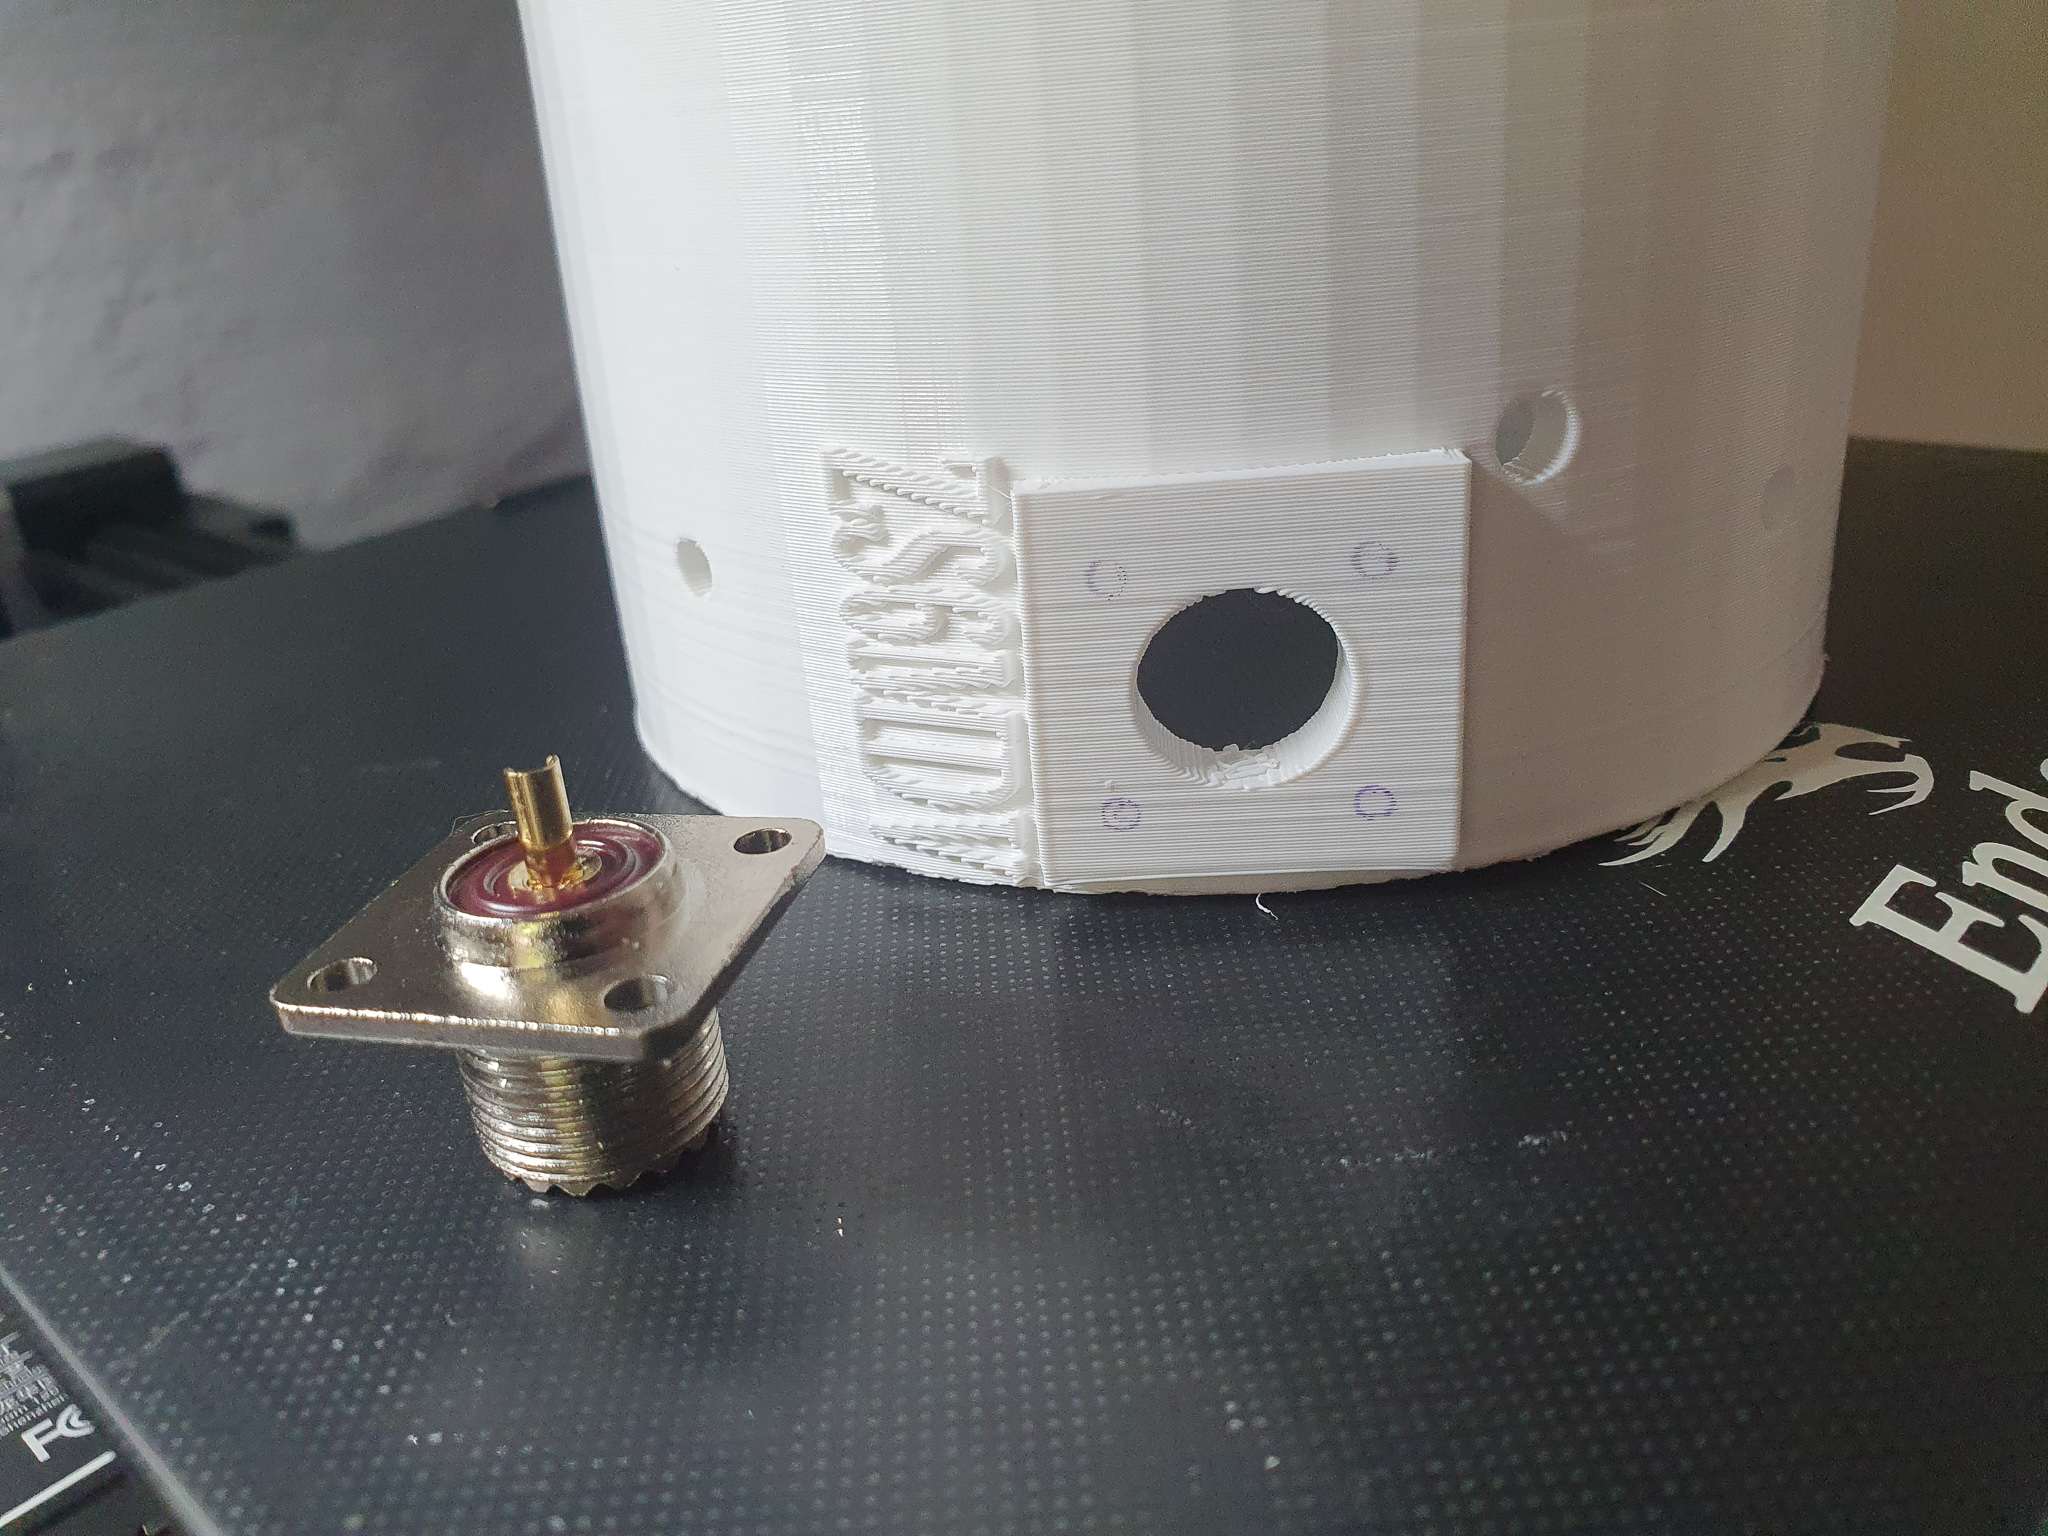
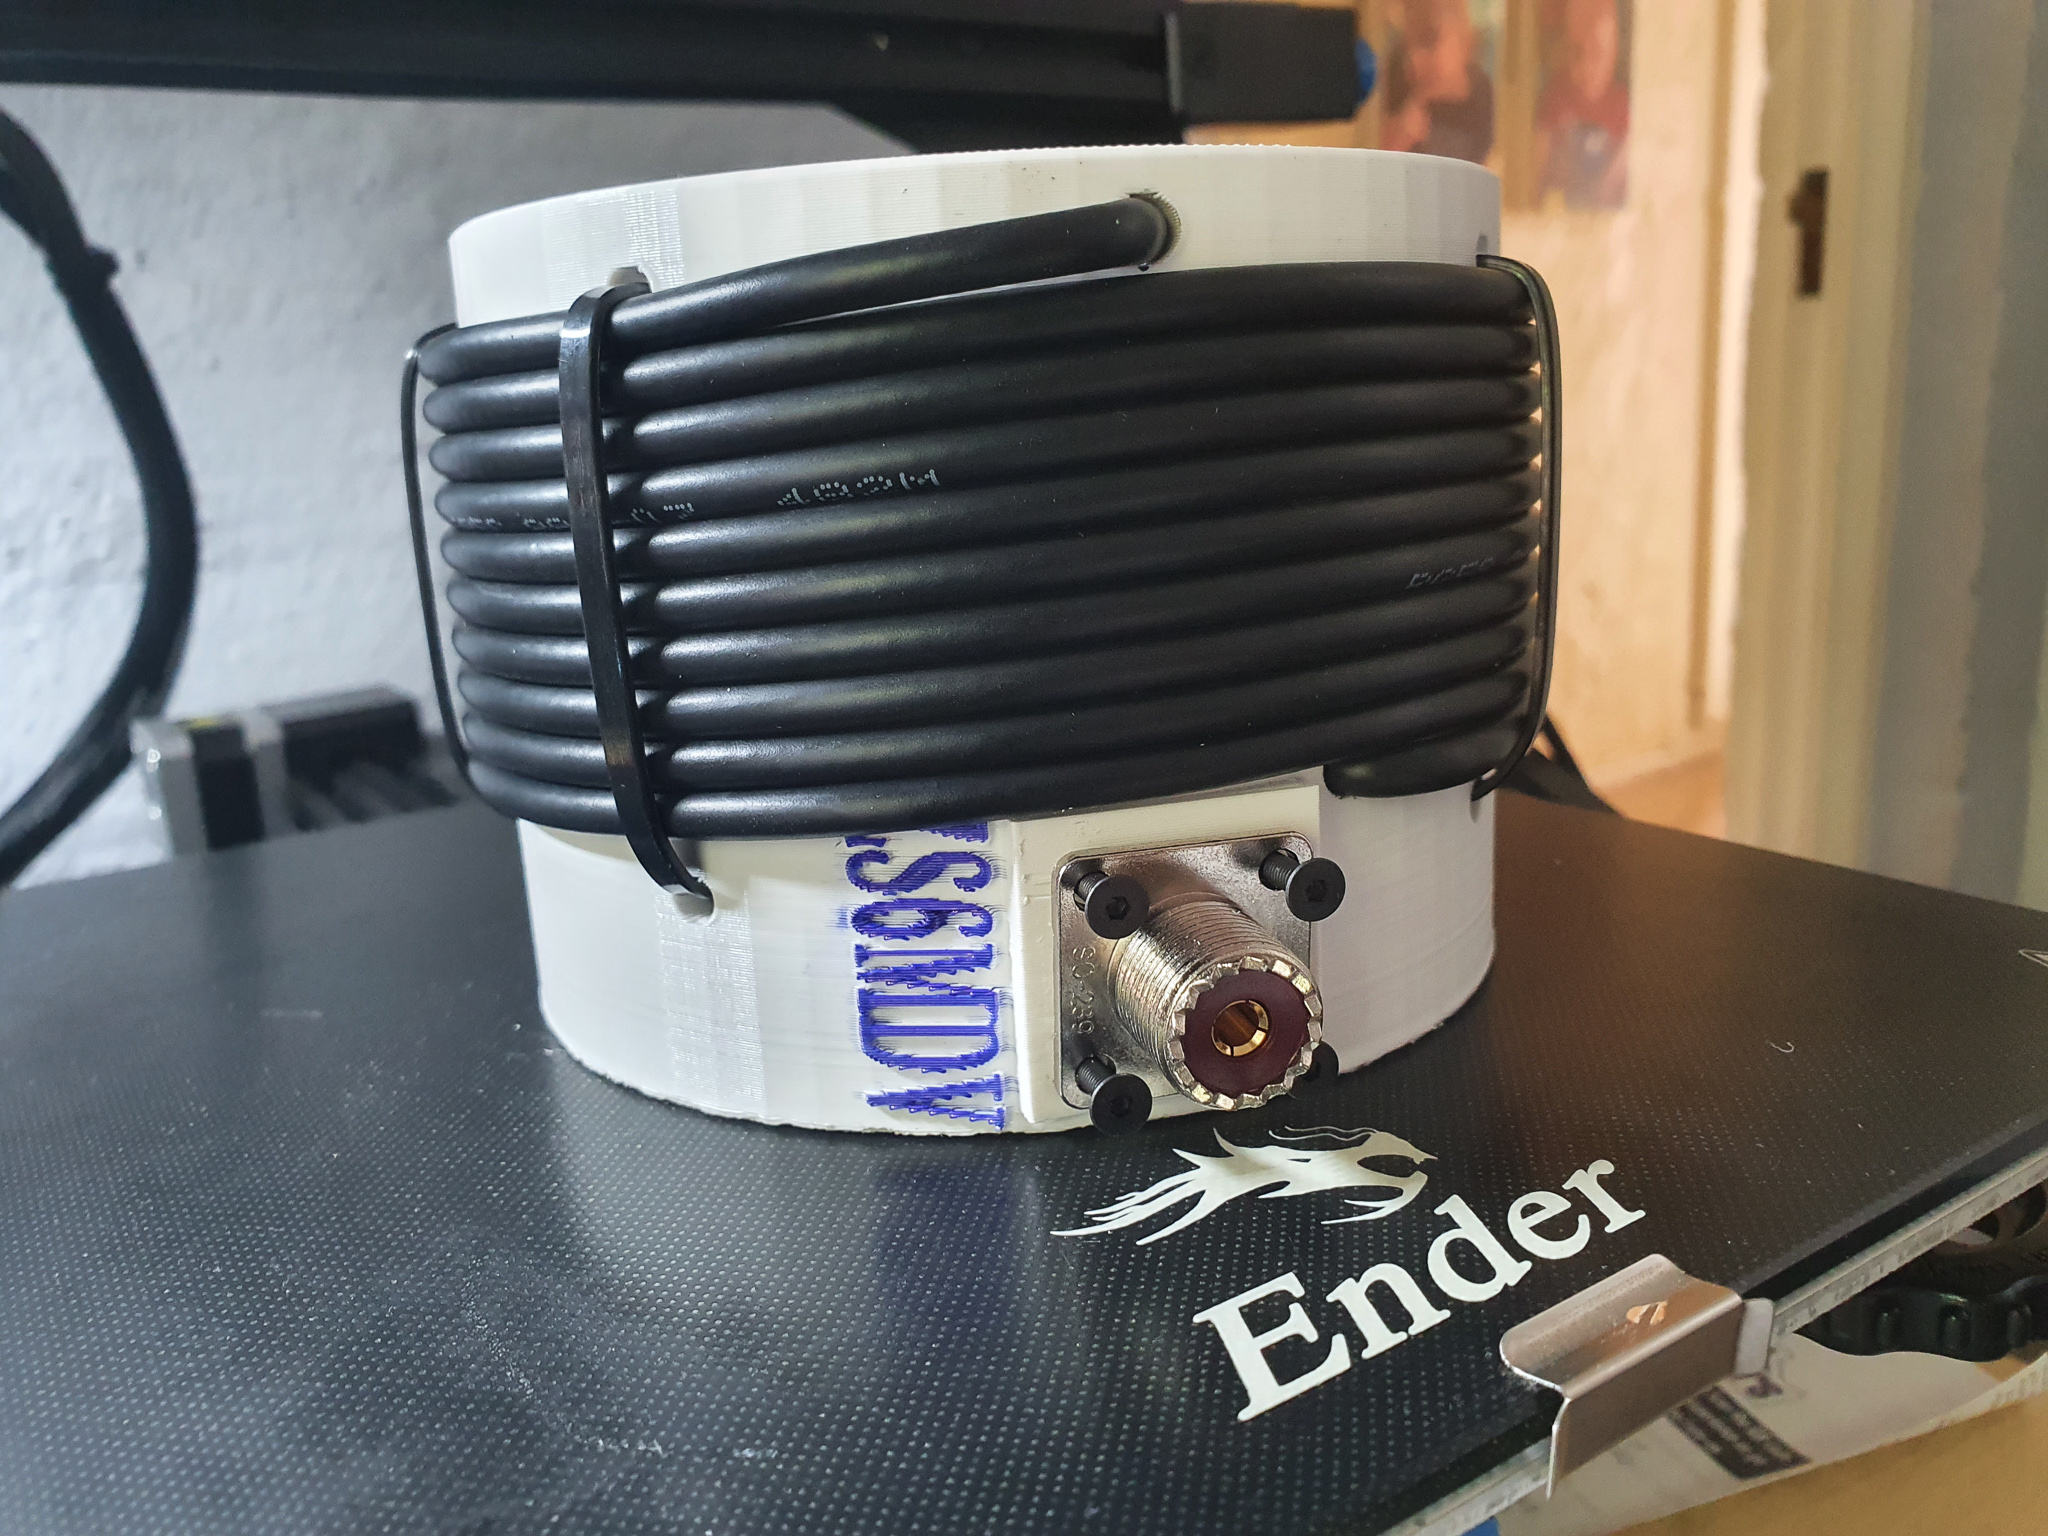
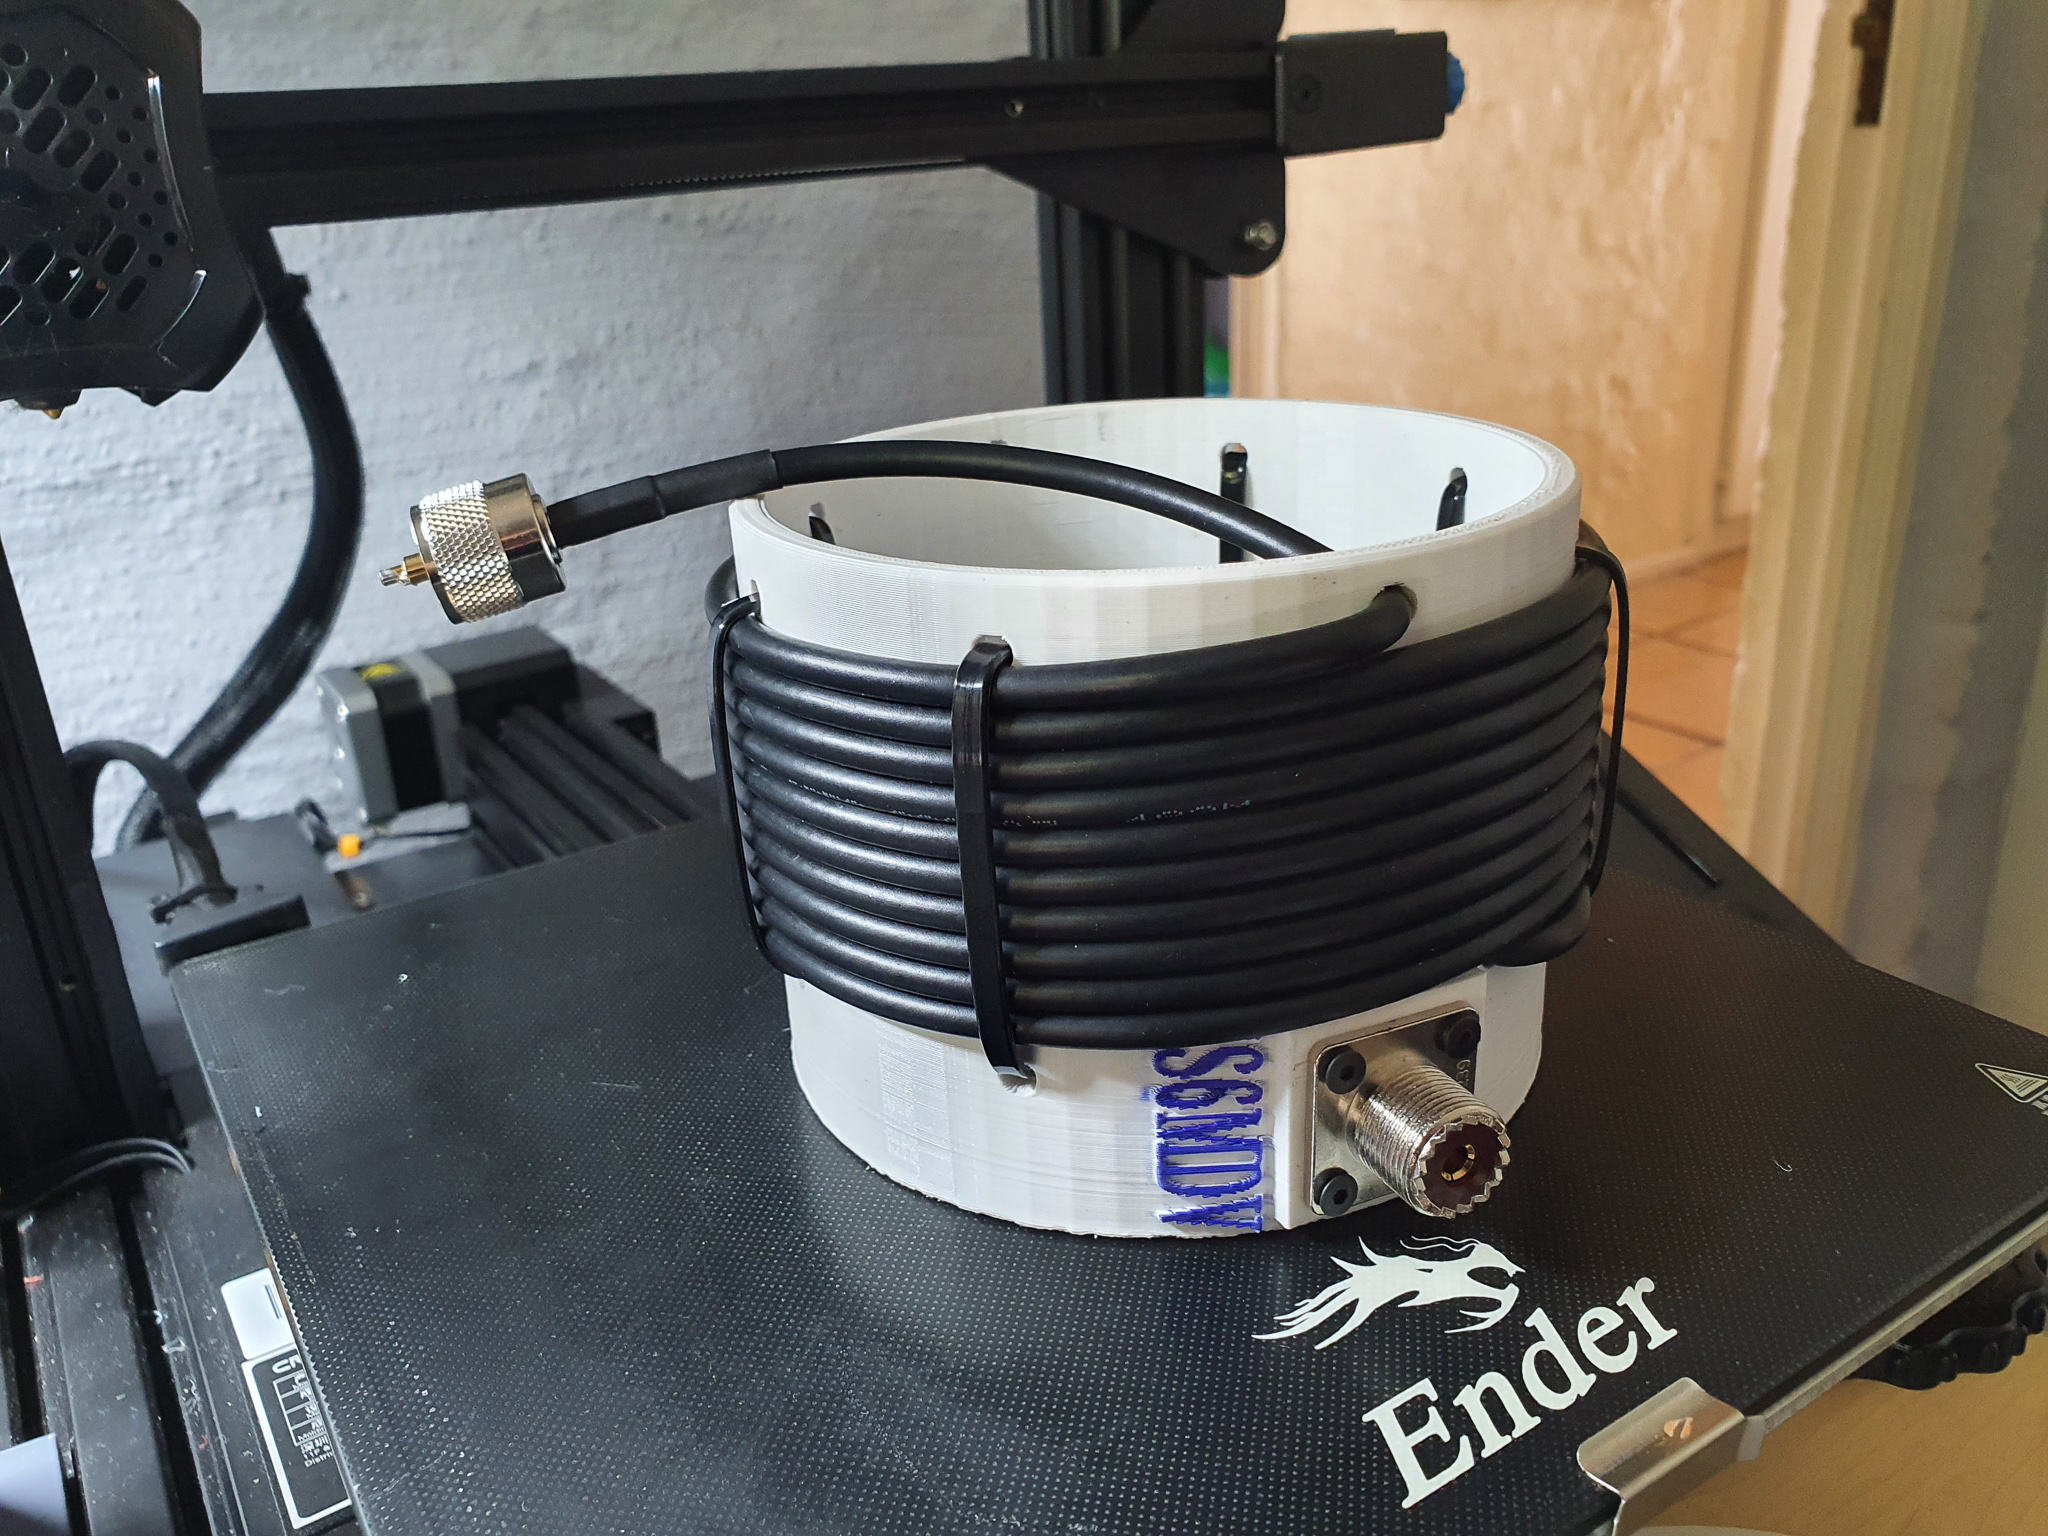
I inserted the SD card filled with instructions into my 3D printer and about 15 hours later my air choke was born. Soon after I attached the chassis mount SO239 with 4 bolts, so the feed point connection had been taken care of (I did silicone seal the rear of the connector to weatherproof it for now). Next, I chucked up the choke on the lathe, fed in some RG58, set it to its slowest speed and let it rip. In no time 10 turns of RG58 was tightly wound, I trimmed it up and inserted it into the choke. I then proceeded to install the cable ties and hold the newly wound RG58 securely in place. With that done it was a matter of installing the PL259 and I was about done.
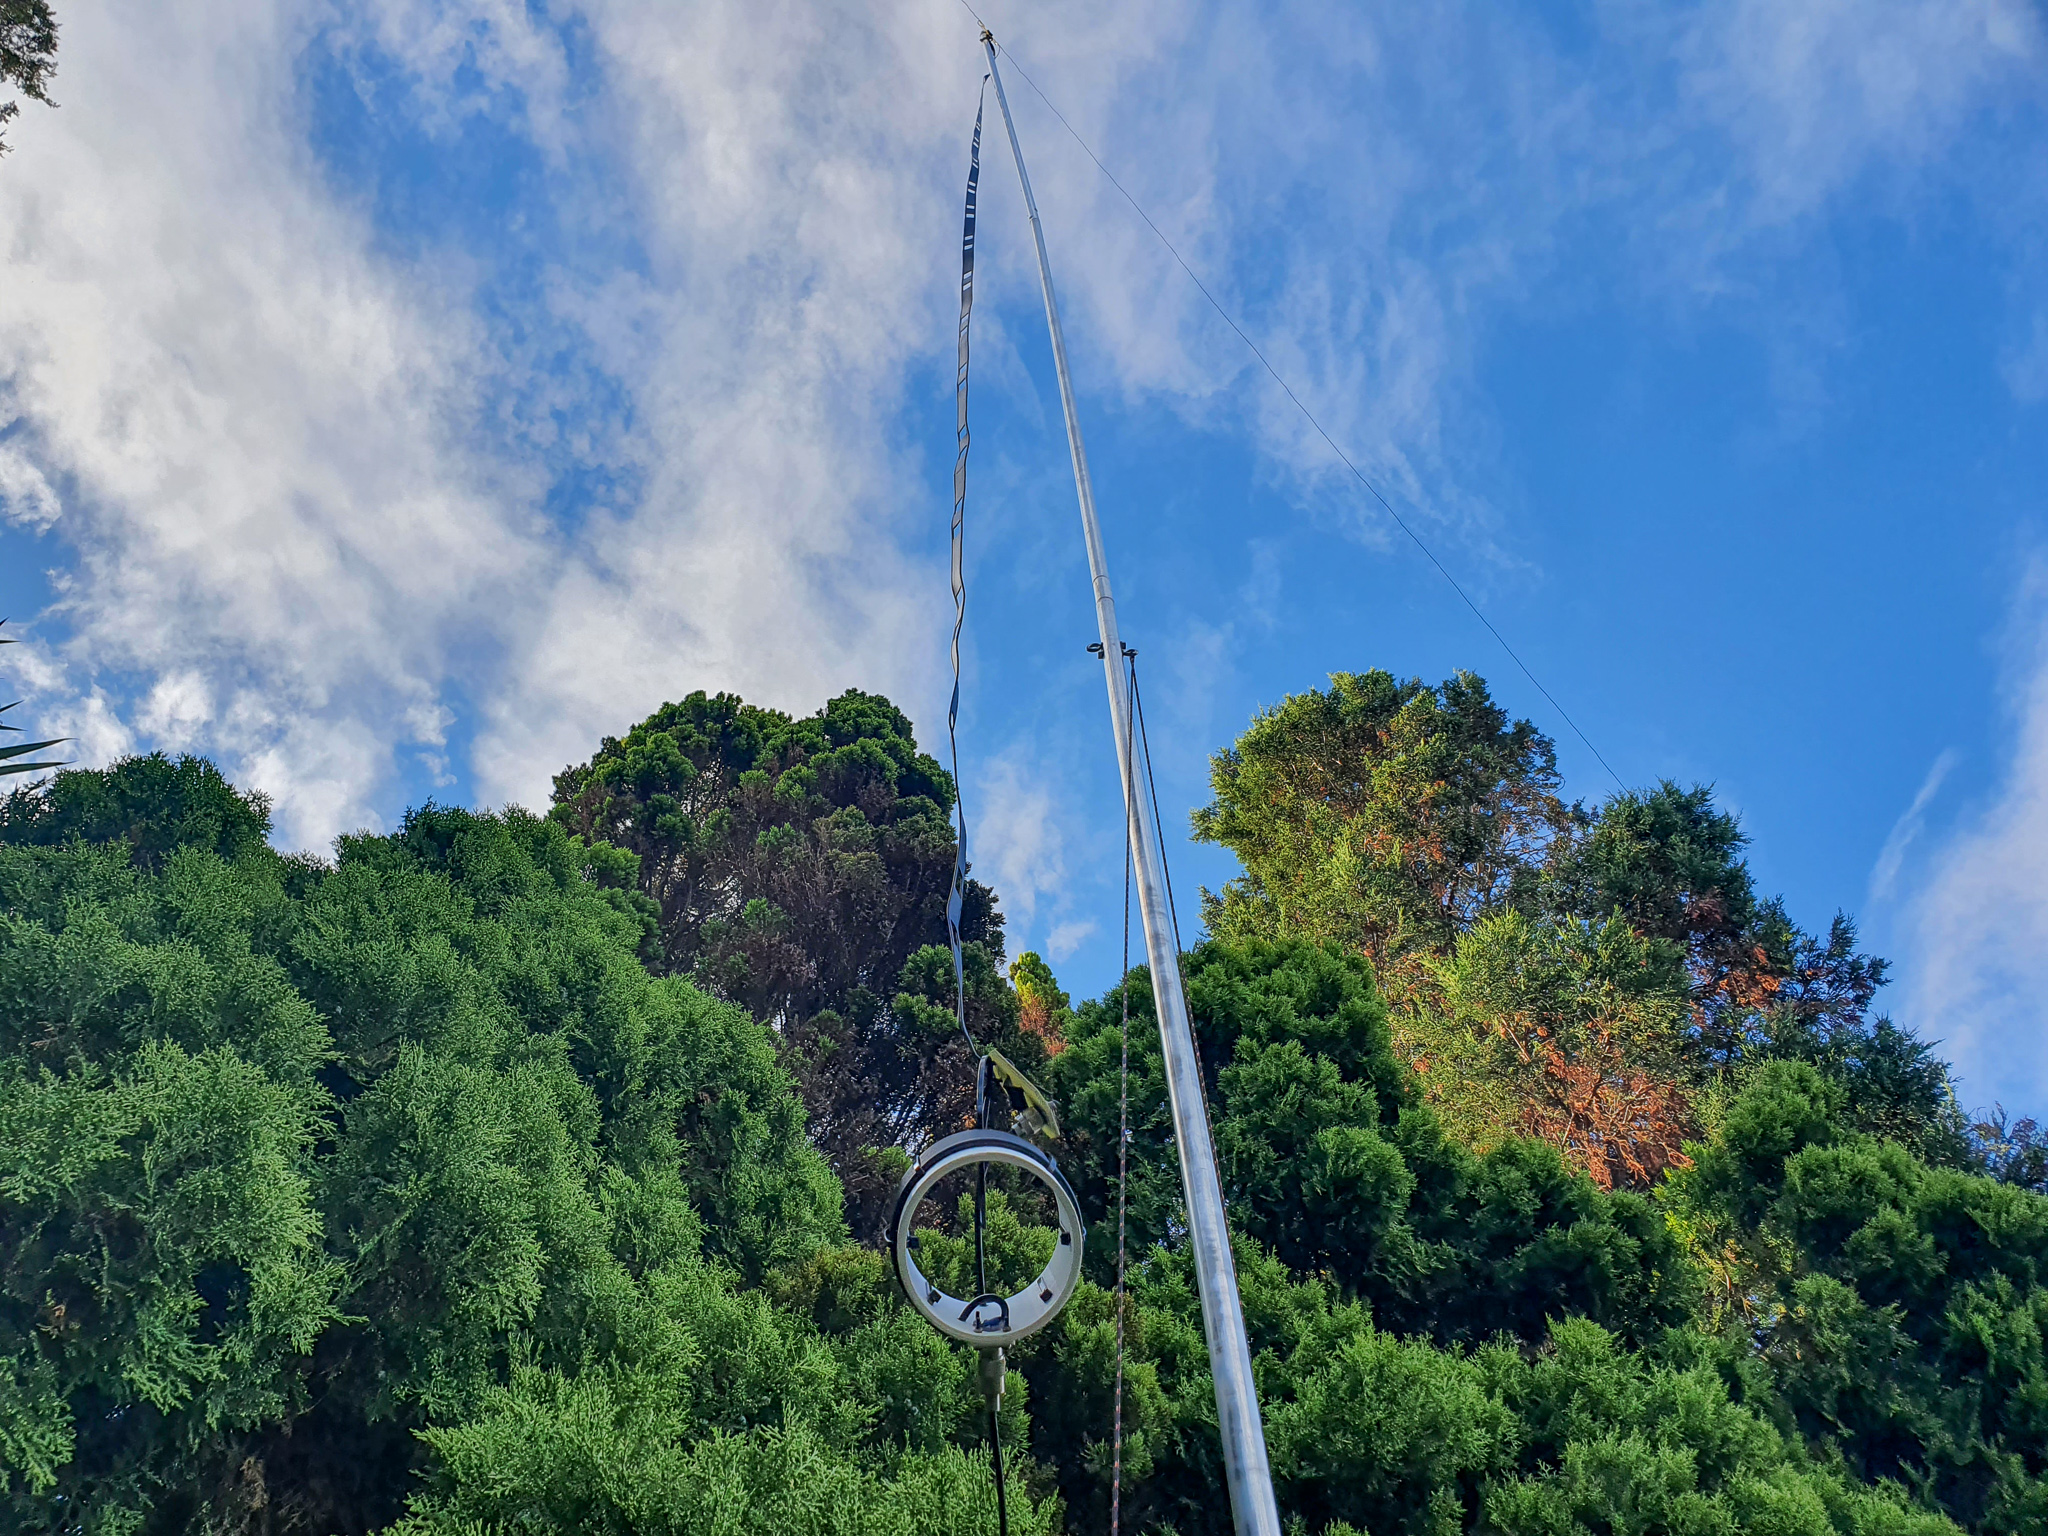
I am happy to report that the balun has been up for a couple of weeks and has been working flawlessly. My IC7300 is happy to tune the antenna without an external tuner and the antenna seems quieter than ever before. After some consideration I am going to make a couple of small changes to the design for the next unit (I have another G5RV antenna for field day) and see how it performs. The material I have used in my 3D printer is PLA which does not typically hold up to high heat, time will tell how it fairs outside in the elements.
Next, I have my sights on the “ugly balun”, the one we all made after passing our RAE by winding coax around a 50mm PVC pipe to make a 40m dipole. I already have my vernier in hand getting ready for the next 3D model…….
73
de ZS6MDV